A Small Change That Makes a Big Difference
Have you ever been dragging a lawnmower, wagon, or garden cart across uneven ground, feeling the wheels wobble or stick, and thought, “Ugh, these wheels are driving me crazy!”? Well, I’ve been there, and I know exactly how frustrating it can feel. It’s not just about inconvenience—it can make a simple task exhausting, time-consuming, and honestly, kind of stressful.
That’s where upgrading outdoor wheels comes in. It might seem like a small tweak, but swapping out old, worn-out wheels for new ones can completely transform the way your equipment performs. Suddenly, everything rolls smoothly, you spend less energy pushing or pulling, and it even feels safer.
In this guide, we’re going to walk step-by-step through the process of upgrading outdoor wheels. I’ll share practical tips, emotional “aha” moments, and insider advice to make sure your project is not only successful but actually enjoyable. By the end, you’ll feel confident and even a little proud of the smooth, effortless operation of your upgraded equipment.
Why Upgrading Your Outdoor Wheels Matters
Common Issues with Old Wheels
Old wheels can create more problems than you might think. Cracks, flat spots, rust, and general wear and tear can make moving your outdoor equipment a struggle. You push harder, your equipment drags, and sometimes it even veers off course unexpectedly.
It’s easy to feel frustrated when a simple task like mowing the lawn or moving a cart turns into a test of patience. The truth is, worn-out wheels aren’t just inconvenient—they can be unsafe, too. A wobbling wagon could tip, a stiff lawnmower wheel could snag, and your hands, wrists, and back could take a beating from extra effort.
Benefits of Upgrading
When you upgrade your wheels, the change is immediate and noticeable:
- Smoother operation: Rolling feels effortless, and every push or pull is more controlled.
- Improved safety: Stable, reliable wheels reduce the risk of accidents.
- Increased lifespan: Your equipment lasts longer because the wheels aren’t creating extra stress on the frame or axles.
- Emotional payoff: There’s a special kind of satisfaction when something that once felt like a chore now glides effortlessly.
Can you imagine that feeling of relief when your equipment finally moves the way it’s supposed to? It’s one of those small, everyday joys that makes all the difference.
Why Proper Wheel Alignment and Balance Are Crucial
You might think, “Well, it’s just a wheel. How complicated can it be?” But, trust me, wheel alignment and balance are game-changers. Misaligned or unbalanced wheels can cause uneven wear, wobbling, increased effort while pushing, and even structural stress on your equipment. Can you imagine the frustration of feeling your cart veer to one side every time you push it across the yard? It’s exhausting and unnecessary.
Taking the time to ensure proper alignment and balance transforms your upgraded wheels from “just functional” to effortless and reliable, giving you a smoother, safer, and more satisfying experience.
How Misalignment Affects Performance
- Uneven Wear: Wheels that aren’t aligned properly wear down faster on one side, reducing lifespan and increasing replacement frequency.
- Increased Resistance: Misaligned wheels drag slightly, which adds unnecessary strain to your arms, back, or equipment motor if powered.
- Safety Risks: Wobbling wheels or uneven weight distribution can lead to tipping, slipping, or loss of control.
- Frustration Factor: Constantly correcting your push or pull is mentally tiring—it can turn a simple chore into a stressful ordeal.
By addressing alignment and balance during your upgrade, you’re preventing these hidden annoyances before they start. It’s the kind of behind-the-scenes care that makes a huge difference without being immediately visible—yet you’ll feel it every time you use your equipment.
Steps to Ensure Proper Alignment
- Check Axle Position: Make sure the axle is straight and sits correctly in its mounts.
- Position Wheels Evenly: Ensure both wheels are equally spaced from the frame or body of the equipment.
- Tighten Fasteners Evenly: Over-tightening one side and leaving the other loose can create misalignment. Gradually tighten bolts while checking the wheel’s movement.
- Test and Adjust: Push or roll the equipment slowly to observe any veering or wobbling, then make small adjustments.
Even slight tweaks here can drastically improve handling, making your push lighter and your control smoother.
Balancing the Wheels
For larger or heavier wheels, especially on lawn tractors, garden wagons, or wheelbarrows, balancing is just as important as alignment. Balanced wheels prevent vibration, reduce stress on the axle, and ensure smoother rotation.
- How to Check Balance: Lift one wheel at a time and spin it slowly. If it consistently drifts downward or makes uneven contact with the surface, it may need weight adjustment or repositioning.
- Benefits: Balanced wheels reduce fatigue during use, minimize uneven wear, and create a smoother, more professional feel when maneuvering your equipment.
The Emotional Impact of Aligned, Balanced Wheels
There’s a subtle but powerful emotional payoff to getting alignment and balance right. You feel in control, efficient, and even proud—like you’ve tuned a small machine to perfection. That confidence translates into more enjoyable outdoor work, less frustration, and a small but meaningful sense of accomplishment every time you roll your upgraded wheels.
It’s the difference between “this is fine” and “wow, this feels amazing”—and honestly, that feeling is addictive once you experience it.
Tools and Materials You’ll Need
Before we dive into the step-by-step instructions, it’s important to have everything ready. Preparation makes the process smoother and safer—and honestly, it makes it a lot more fun.
Essential Tools
- Wrenches and sockets: For loosening and tightening nuts and bolts.
- Screwdrivers and pliers: Handy for stubborn fasteners.
- Jack or lifting device: Especially useful for heavier equipment like lawn tractors.
- Lubricants and cleaning supplies: To loosen rusted parts and keep axles smooth.
Having your tools ready will make the job feel less like a chore and more like a satisfying DIY project. There’s a sense of confidence that comes from knowing you have everything you need.
Materials and Replacement Parts
- Correct replacement wheels: Ensure the diameter, width, and load capacity match your equipment.
- Bearings or bushings (if needed): These improve wheel rotation and reduce wear.
- Optional wheel covers or protective coatings: Helps prevent rust and prolong wheel life.
Taking the time to choose the right replacement parts will save headaches down the line. Nothing’s worse than finishing a project only to find the new wheels don’t fit properly.
Safety Gear
- Gloves: Protect your hands from sharp edges, grease, and grime.
- Safety glasses: Keep debris out of your eyes.
- Knee pads: Helpful when working close to the ground.
Safety isn’t just about avoiding accidents—it’s about making the process more comfortable. Feeling safe allows you to enjoy the work and take pride in the outcome.
Step-by-Step Guide to Upgrading Outdoor Wheels
Prepare Your Workspace
Before you start, clear your workspace. Lay down a tarp or old blanket to protect surfaces and keep small parts from rolling away. Gather all your tools and replacement wheels in one spot.
There’s something almost calming about starting a project with an organized setup. It makes you feel ready, focused, and confident, and sets the tone for a smooth process.
Remove the Old Wheels
- Loosen the nuts, bolts, or pins holding the wheel in place.
- Lift the equipment carefully if it’s heavy. A jack or lifting device helps.
- Gently remove the old wheels, taking care not to damage the axle or surrounding parts.
Removing old wheels can be surprisingly satisfying. As that worn-out wheel comes off, you might feel a sense of progress and relief—it’s the first tangible sign that change is happening.
Inspect the Axle and Mounting Area
Take a moment to inspect the axle and wheel mount. Look for rust, debris, or damage. Clean thoroughly and apply a light lubricant if needed.
It’s amazing how something small like cleaning and lubricating the axle can make the final installation feel effortless. Plus, it adds a little extra lifespan to your equipment, which is always rewarding.
Install the New Wheels
- Position the new wheel correctly on the axle.
- Ensure proper alignment and orientation.
- Insert any bearings or bushings if required.
- Tighten the nuts, bolts, or pins securely—but avoid over-tightening.
There’s a quiet thrill that comes when a new wheel clicks perfectly into place. It’s that moment when you realize your effort is paying off, and your equipment is about to perform better than ever.
Test the Upgrade
- Spin the wheels to ensure smooth rotation.
- Walk or push the equipment slowly to check stability.
- Listen for unusual noises or resistance.
This is the payoff moment. When your upgraded wheels roll effortlessly, it’s like a small victory. It fills you with pride, satisfaction, and relief knowing that all your preparation and effort worked beautifully.
Tips for Choosing the Right Replacement Wheels
Consider Size and Load Capacity
Matching wheel diameter, width, and axle size is crucial. A wheel that’s too small or too weak can cause imbalance, reduce efficiency, or even damage the equipment.
Think about what you carry and how often you use it. Choosing the right size gives you confidence and peace of mind with every roll.
Material Matters
- Rubber: Smooth, quiet, good for uneven or soft terrain.
- Polyurethane: Durable, resistant to weather and chemicals.
- Plastic: Lightweight, inexpensive, best for light-duty tasks.
- Metal: Extremely durable but may be heavy and noisy.
The material affects grip, wear, and your overall experience. Picking the right one feels empowering because it’s a small choice with a big practical impact.
Bearings and Smooth Operation
- Ball bearings provide effortless rotation and reduce friction.
- Bushings are simpler but may create more resistance over time.
Smooth rotation doesn’t just make your life easier—it protects the axle and extends the lifespan of the wheel. It’s like giving your equipment a little extra love.
Maintenance and Longevity
- Clean wheels regularly.
- Apply light lubrication to axles and bearings.
- Inspect for cracks or wear periodically.
A bit of maintenance keeps your upgraded wheels rolling smoothly for years. That proactive care brings a quiet satisfaction every time you push your equipment.
Common Mistakes to Avoid
- Installing wheels without checking axle compatibility.
- Over-tightening or under-tightening fasteners.
- Ignoring surface type and wheel material suitability.
- Skipping the test run before full use.
Avoiding these pitfalls makes the difference between a joyful upgrade and a frustrating project. A little care and attention here prevent stress, wasted time, and extra costs.
Advanced Tips for Optimizing Outdoor Wheel Performance
- Use wheel covers or protective coatings to prevent rust and weather damage.
- Upgrade to puncture-proof or heavy-duty tires for rough terrain.
- Adjust wheel spacing for better balance and maneuverability.
These small tweaks elevate your project from functional to exceptionally smooth and reliable, giving you that extra layer of satisfaction every time you use your equipment.
How Choosing Wheels for Specific Terrain Enhances Performance
When it comes to outdoor wheels, one size does not fit all. Have you ever tried rolling a standard garden cart across gravel or sand, only to feel it getting stuck or jerking unpredictably? That’s a classic example of terrain mismatch, and it can turn a simple task into a frustrating workout.
Understanding how your wheel interacts with different surfaces is essential. The right choice can dramatically improve performance, efficiency, and safety, while the wrong choice can make even light-duty tasks feel exhausting.
Matching Wheels to the Terrain
- Grass and Dirt: Wheels with wider diameters and soft rubber treads distribute weight evenly, preventing sinking and allowing smooth rolling. Can you imagine how effortless mowing or transporting soil can feel with the right wheels? It’s like your equipment glides instead of drags.
- Gravel or Rock: Hard, narrow wheels or polyurethane tires perform better on uneven, rough surfaces. They reduce wobbling and prevent tires from catching between stones, giving you confidence with every step.
- Concrete or Pavement: Smooth, durable wheels are ideal here. They reduce vibration and make pushing or pulling easier, keeping your joints and back happier.
- Sand or Loose Soil: Oversized, balloon-style wheels are best. They provide maximum surface contact, preventing your cart or wagon from sinking. It’s almost magical how effortless movement becomes when the wheels “float” instead of sink.
The Emotional and Practical Benefits
Choosing the right wheel for the terrain doesn’t just improve mechanical performance—it also enhances your emotional experience. Think about the difference between struggling to push a cart and feeling it roll smoothly under your control. The frustration melts away, replaced with satisfaction, relief, and even joy as your work feels lighter and more enjoyable.
It also boosts safety. Proper terrain-matched wheels reduce the chance of tipping, slipping, or sudden stops. That sense of security allows you to focus on your task without constant worry, which is especially valuable if you’re moving heavy loads or working on uneven ground.
Practical Tips for Terrain Optimization
- Assess Your Primary Surface: Where will the equipment be used most? Choose wheels optimized for that terrain first.
- Consider Multi-Surface Use: If your equipment travels across multiple surfaces, consider hybrid wheels or interchangeable tires.
- Test Before Heavy Loads: Try a light load first to ensure the wheels perform well and adjust if necessary.
- Maintain Tires for Consistency: Keep inflatable or rubber wheels properly inflated and check for wear regularly.
Even small adjustments here make a huge difference in your daily workflow. Terrain-optimized wheels save energy, reduce strain, and make tasks more enjoyable—turning an ordinary chore into a smoother, almost effortless experience.
Ensuring Weather Resistance and Durability for Long-Lasting Performance
When it comes to outdoor wheels, it’s easy to overlook the impact of weather and environmental conditions. But let me tell you, this is one of those details that can quietly sabotage even the best upgrades if ignored. Rain, snow, UV rays, and extreme temperatures can all take a toll on wheels, axles, and bearings over time. Can you imagine spending time upgrading your equipment only for the new wheels to degrade after a few months? That would be incredibly frustrating—and totally avoidable.
Focusing on weather resistance and durability ensures that your upgraded wheels not only perform flawlessly today but continue to do so for years, giving you peace of mind and a consistent, effortless experience.
Choosing Weather-Resistant Materials
- Rubber Wheels: Look for UV-stabilized or weather-treated rubber that won’t crack or harden in the sun.
- Polyurethane: Extremely durable and resistant to chemicals, oils, and temperature fluctuations. Ideal for long-term outdoor use.
- Metal Wheels: Powder-coated or stainless steel wheels resist rust and corrosion, perfect for wet or humid climates.
- Plastic Wheels: Best for lightweight applications, but make sure they are reinforced or UV-resistant for longevity.
Selecting the right material based on your local climate and intended use drastically reduces maintenance and replacement costs. It’s like giving your equipment a protective shield against nature’s wear and tear.
Protective Treatments for Extra Longevity
Even high-quality wheels can benefit from some preventative care:
- Lubrication: Regularly lubricate axles, bearings, and moving parts to prevent rust and reduce friction.
- Protective Coatings: Apply rust-resistant spray or silicone coatings to metal parts.
- Storage Tips: Keep equipment covered or stored indoors when not in use to minimize exposure to moisture, sun, and extreme temperatures.
These small, proactive steps extend the life of your wheels and maintain smooth operation. Every time you take care of your equipment, it’s like giving it a little extra love—and the emotional satisfaction is huge.
The Emotional and Practical Benefits
Think about the difference: wheels that resist cracking, rusting, or fading over time make your life easier and your outdoor work more enjoyable. You don’t have to worry about sudden failures or frequent replacements. Every push or pull feels reliable and effortless, giving you confidence and peace of mind.
It’s also rewarding to know that your equipment is ready for any season—whether it’s blazing sun, heavy rain, or frosty mornings. That feeling of preparedness and resilience is subtle but deeply satisfying. It turns routine maintenance into an empowering experience, because you know you’ve done everything to protect your investment.
Practical Tips for Maximizing Durability
- Match materials to your environment: Avoid wheels that degrade under local weather conditions.
- Regular inspections: Check for cracks, rust, or wear every few months.
- Apply lubrication and protective coatings seasonally: Prevents corrosion and keeps movement smooth.
- Cover or store equipment: Reduces exposure to harsh elements and prolongs wheel life.
Taking the time to ensure weather resistance isn’t just a technical detail—it’s an investment in long-term efficiency, safety, and enjoyment of your outdoor equipment.
Small Upgrade, Big Impact
Upgrading your outdoor wheels is more than just a DIY task—it’s a way to transform your experience, reduce frustration, and boost the performance and safety of your equipment. From smoother operation to increased confidence, the benefits are immediate and deeply satisfying.
Every step of this process—from preparation to testing—offers moments of pride and emotional payoff. That quiet joy of watching your upgraded equipment glide effortlessly across the lawn, gravel, or garden path is worth every bit of effort.
So if your wheels are worn out, squeaky, or just not cutting it anymore, don’t wait. Gather your tools, follow the steps, and give your equipment a fresh lease on life. You’ll thank yourself every time you roll.
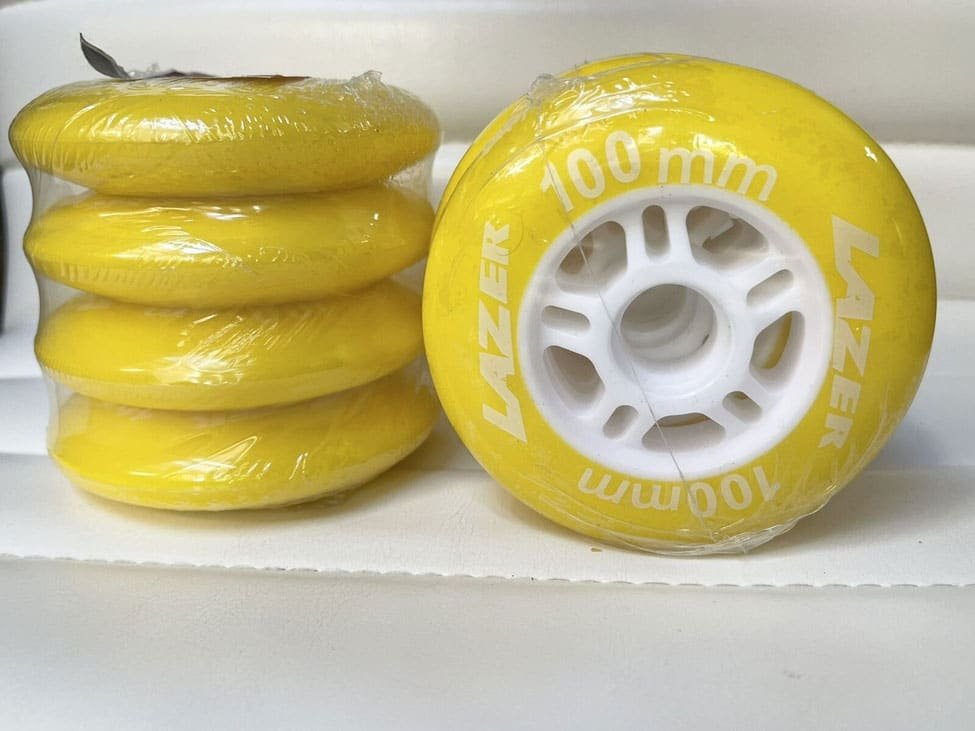
Please read more about the best roller skate wheels for outdoor.
FAQs About Upgrading Outdoor Wheels
How do I know what size wheels to buy for my equipment?
Measure the diameter, width, and axle size of your old wheels and check the load capacity recommended for your equipment.
Can I install new wheels without removing the axle?
It depends on the design, but generally removing the old wheels allows for easier installation and inspection of the axle.
How often should I check or replace outdoor wheels?
Inspect wheels every 3–6 months or sooner if used heavily. Replace when you notice cracks, wobbling, or significant wear.
Are rubber wheels better than plastic for outdoor use?
Rubber wheels provide better grip, smoother operation, and are more durable on uneven surfaces compared to plastic.
Can I upgrade wheels on all types of outdoor equipment?
Most outdoor equipment allows wheel replacement, but always check manufacturer specifications for compatibility.